How to Maintain a Ceramic-Coated Car (Best Washing & Care Tips)


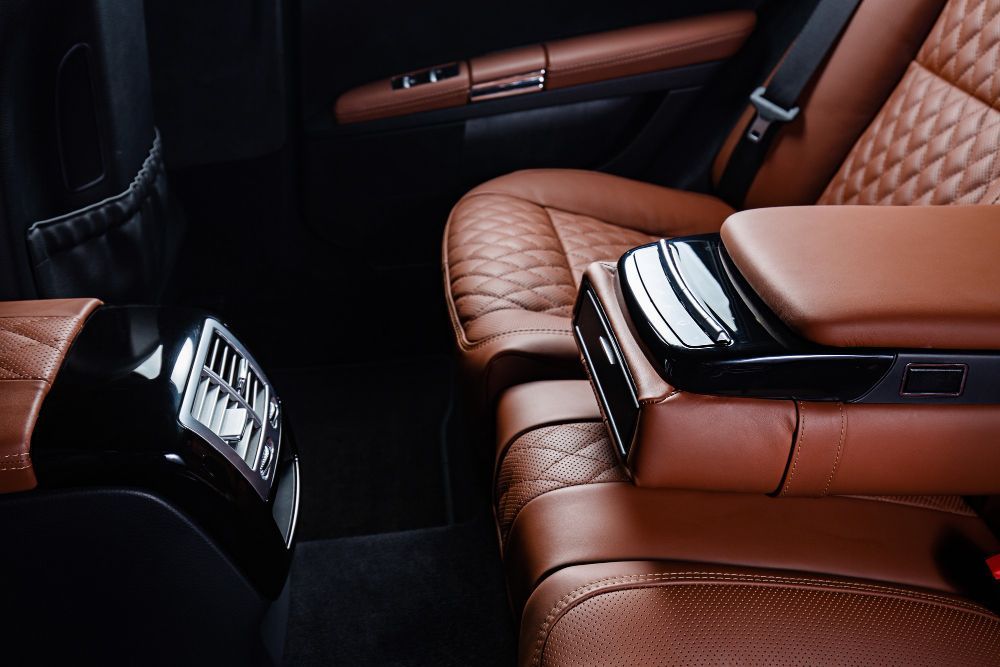
Ceramic coating protects your car's paint. It keeps away dirt, water spots, and sun damage when cared for properly.


To maintain a ceramic-coated car, wash with pH-neutral soap, use the two-bucket method, dry with clean microfiber towels, and avoid automatic car washes. Good care makes your coating last longer and keeps your car looking new.


This guide will show you how to care for your ceramic-coated car with simple steps anyone can follow.


The Two-Bucket Method


The two-bucket method keeps your car safe when washing.


You need:

  • One bucket with soap water
  • One bucket with clean water
  • Quality microfiber wash mitt
  • pH-neutral car soap


First, rinse your car with water. Then dip your mitt in the soap bucket and wash one small area. Rinse the mitt in the clean water bucket before getting more soap. This keeps dirt from scratching your car.


Use the Right Soap


Not all soaps are good for ceramic coatings. Use only pH-neutral car soap made for coated cars.

Regular dish soap or strong cleaners will harm your coating. They strip away the protection that guards your paint.


Good soaps for ceramic coatings are gentle but still clean well.


Drying Matters


Water spots can form on your car even with ceramic coating. Proper drying stops this from happening.


Use clean, soft microfiber towels to dry your car. Pat the surface instead of rubbing hard.

Drying your car in the shade helps prevent water spots before they start.


Places to Avoid


Some places can harm your ceramic coating. Stay away from:

  • Automatic car washes with brushes that scratch
  • Drive-through washes with harsh chemicals
  • Car washes that use recycled water


These can damage your coating and reduce how long it lasts.


Touch-Up Care


Between full washes, you can keep your car clean with quick detailers made for ceramic coatings.

These sprays help remove light dust and fingerprints without a full wash. They also add more shine to your car.


Use a clean microfiber cloth and spray small areas at a time.


Removing Bird Droppings and Bugs


Bird droppings and dead bugs have acids that can harm even ceramic coatings. Remove them quickly when you see them.


Spray the spot with water or detailer spray. Place a wet microfiber towel over it for a few minutes. Then gently wipe away.


Never scrub hard or use sharp items to scrape them off.


Seasonal Care Tips


Different seasons need different care for your ceramic-coated car.


In summer, wash more often to remove bugs, tree sap, and bird droppings.


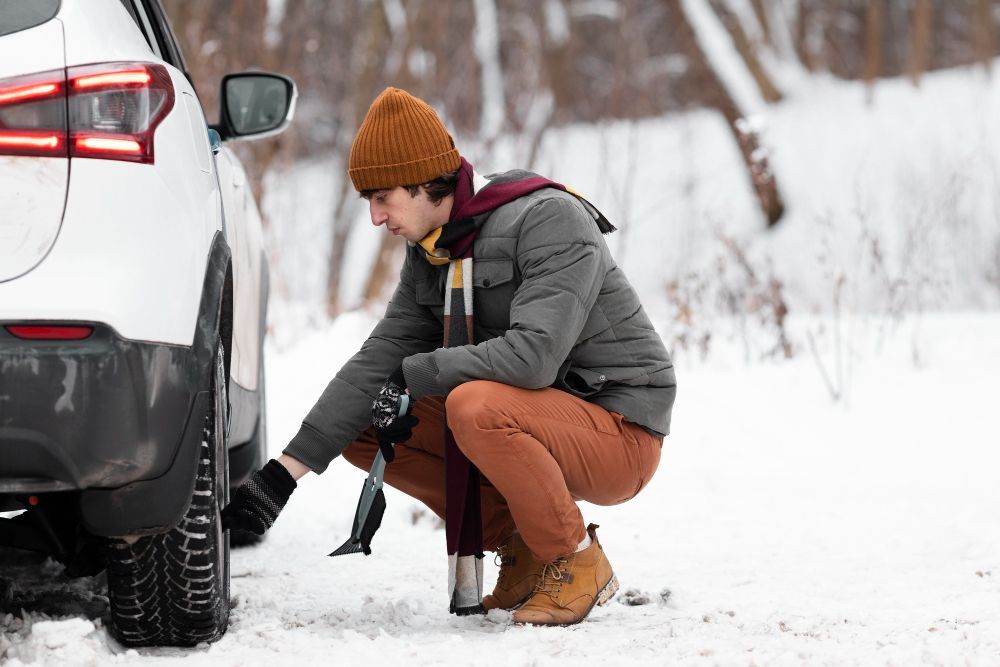
In winter, rinse off road salt as soon as you can. Salt can work through ceramic coatings if left too long.


When to Get Help


Even the best coating needs help sometimes. Look for these signs:

  • Water not beading up like before
  • Spots that seem dull
  • Hard water marks that won't come off


When you see these signs, it's time to visit Veteran Detail for a coating check.


Touch-Up Products


Some coatings work best when you use booster sprays every few months. These are like giving water to a plant.


Ask the shop that put on your coating what products they suggest. Using the wrong ones can cause problems.


Veteran Detail can tell you the right products for your specific coating.


Waxing: Yes or No?


Most ceramic-coated cars don't need wax. The coating itself does what wax would do.


Some special coating-safe waxes can add more shine, but ask Veteran Detail first before using any.


Using the wrong wax can make your coating less effective.


Professional Check-Ups


Have your coating checked by pros once a year. They can:

  • Look for weak spots
  • Do special deep cleaning
  • Fix small problems before they grow


Veteran Detail has the knowledge to care for all types of ceramic coatings.


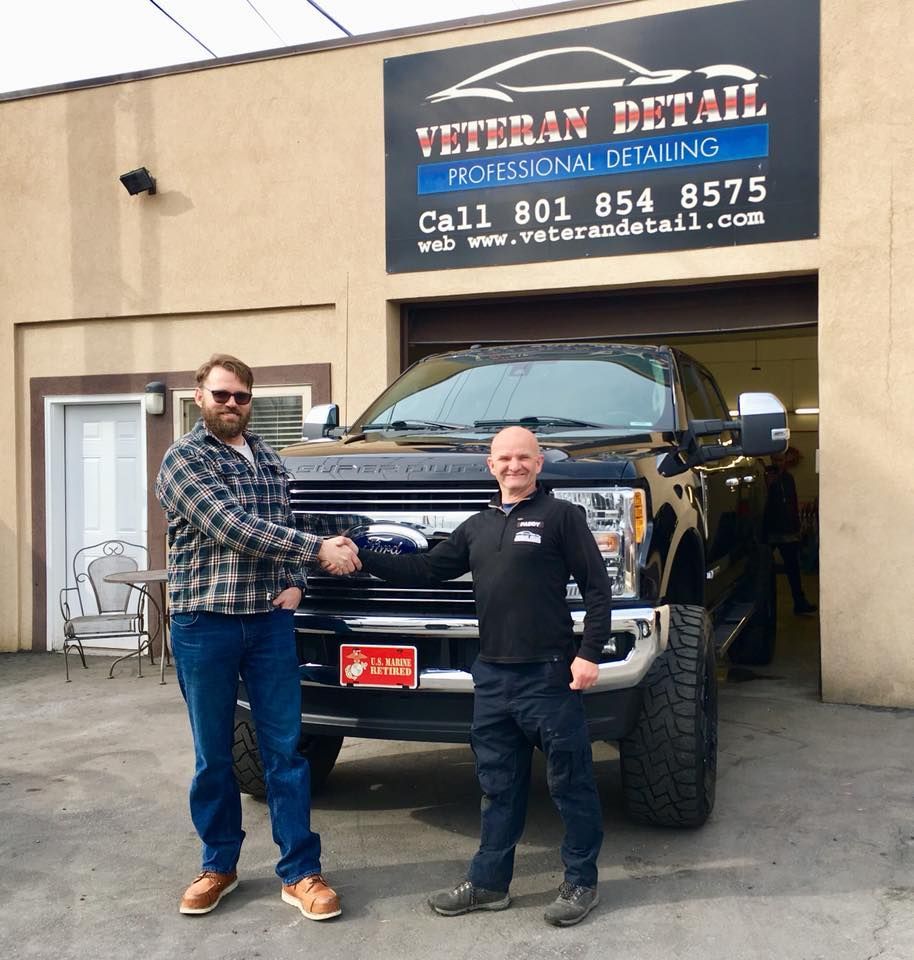
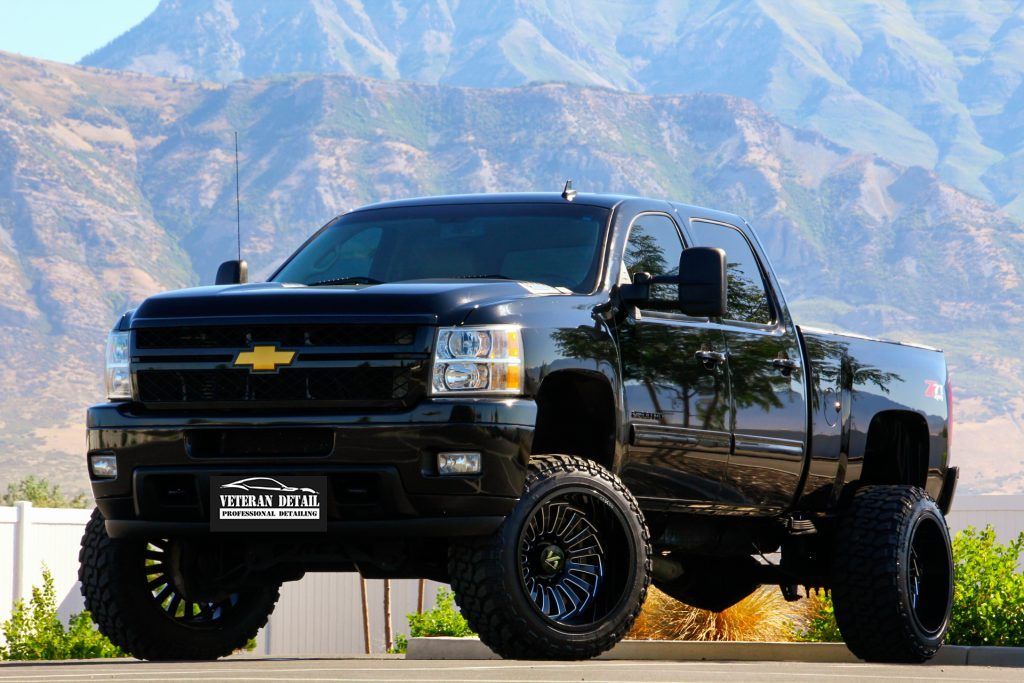
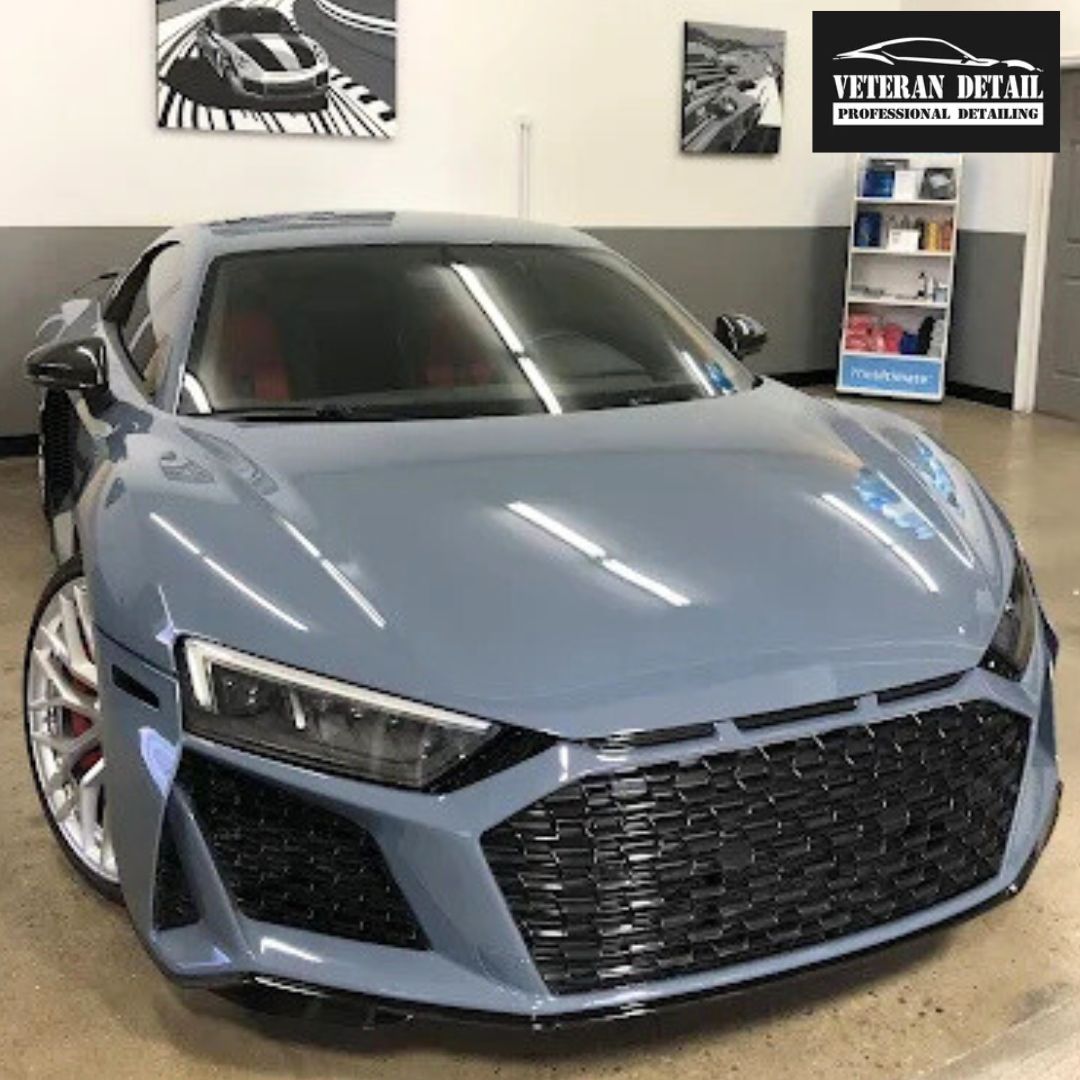
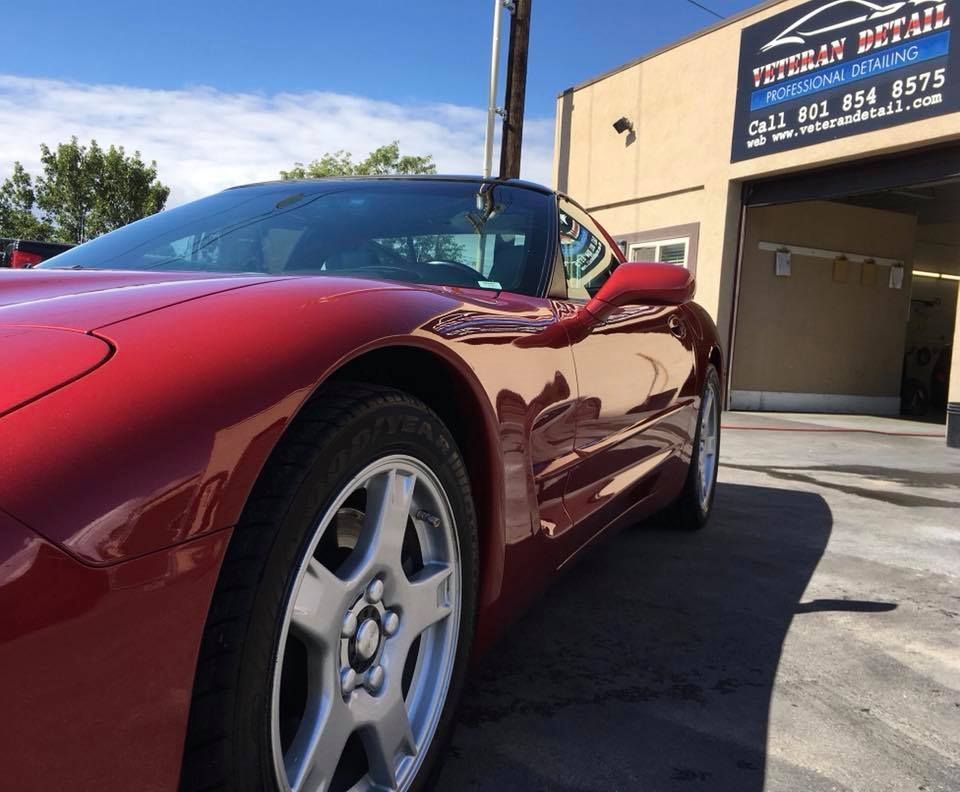
Trust Veteran Detail With Your Ceramic-Coated Car


When your car needs expert care, turn to Veteran Detail. Their hands are skilled in the ways of ceramic coating, PPF, and car window tinting. They care for classic cars with the respect they deserve.


Their knowledge is known across American Fork, Pleasant Grove, Orem, Provo, Alpine, Highland, Lehi, and Saratoga Springs. Many speak of their Black Ops packages that give cars the ultimate protection.


Visit Veteran Detail to keep your ceramic coating strong through many seasons. Their wisdom will help your car's spirit shine bright on every road you travel.

April 2, 2025
Where to Get the Best PPF Installation in Utah: Your Complete Guide
March 11, 2025
Does PPF Affect Car Resale Value in UT? (Investment Benefits for Luxury & Exotic Cars)
pff removal ut
March 11, 2025
If you've invested in Paint Protection Film (PPF) for your vehicle, you might wonder what happens when it's time for a change. Maybe your PPF is showing signs of wear, or perhaps you're selling your car and want to remove it first. Yes, PPF can be safely removed without damaging your vehicle's paint when done correctly. The removal process involves carefully heating the film, slowly peeling it away from the surface, and cleaning any remaining adhesive residue. While DIY removal is possible, professional removal is recommended to avoid paint damage, especially for older installations or lower-quality films. Understanding when and how to remove PPF is important for every vehicle owner who has this protection. In this guide, we'll walk you through everything you need to know about PPF removal, when it's time to replace your film, and how to get it done right the first time. What Is PPF and How Long Does It Last? Paint Protection Film (PPF) is a clear, thermoplastic urethane film applied to the painted surfaces of a vehicle to protect against stone chips, bug stains, scratches, and other minor abrasions. Think of it as a thick, invisible shield that takes the hits instead of your paint. Most quality PPF products are designed to last between 5-10 years, depending on: The quality of the film used How well it was installed Your driving conditions How you maintain your vehicle Climate and sun exposure Top brands like XPEL, 3M, and SunTek typically offer warranties ranging from 5-10 years. However, even the best PPF will eventually show signs of aging like yellowing, haziness, or edge lifting. Signs It's Time to Remove or Replace Your PPF Visual Indicators Your PPF is telling you it's time for replacement when you notice: Yellowing or discoloration Cloudiness or haziness Cracking or peeling edges Bubbles that won't go away Scratches or stains that have penetrated the film These changes happen gradually as the film ages, but when they become noticeable, it's usually time for replacement. Age Considerations Even if your PPF looks good, consider replacement when: It's been 7-10 years since installation You're planning to sell your vehicle (new PPF can be a selling point) You want to upgrade to a newer, better quality film You've moved to a harsher climate that requires better protection Think of PPF like your vehicle's sunscreen – it breaks down over time and needs to be reapplied for continued protection. Professional vs. DIY PPF Removal The Case for Professional Removal Professional PPF removal offers several advantages: Technicians have specialized tools and heat guns They understand different adhesive types They can spot and prevent potential paint damage The job is usually completed in 2-4 hours Most shops include cleaning and paint inspection At Veteran Detai l in Utah County, our technicians have removed hundreds of PPF installations and know exactly how to handle even the trickiest situations without damaging your paint. DIY Removal: Is It Possible? Yes, you can remove PPF yourself, but consider: It requires patience and the right tools Mistakes can damage your paint Older films are harder to remove You'll need several hours, especially for first-timers If you decide to try DIY removal, we'll cover the step-by-step process below. But remember that professional removal usually costs $200-$500 – often less than fixing a DIY mistake. The Professional PPF Removal Process What to Expect When you bring your vehicle to a professional detailer for PPF removal, the process typically involves: Inspection : The technician examines the condition of your PPF, its age, and the type of film to plan the removal approach. Preparation : The vehicle is washed thoroughly to remove dirt that could scratch the paint during removal. Controlled heating : Using professional heat guns, the technician warms sections of the film to loosen the adhesive. Careful peeling : The film is removed slowly at a specific angle to prevent adhesive transfer to the paint. Adhesive removal : Any remaining adhesive is dissolved using safe solvents and cleaned completely. Paint inspection : The paint is checked for any issues that might have been hidden under the film. Surface cleaning : A final clean ensures no residue remains before new protection is applied. The entire process takes 2-4 hours for most vehicles, depending on how much film needs to be removed. DIY PPF Removal: Step-by-Step Guide Tools You'll Need Heat gun or hair dryer Plastic scraper or old credit card Isopropyl alcohol (91% or higher) Microfiber towels Adhesive remover (like 3M Adhesive Remover) Spray bottle with warm soapy water Patience – lots of it Step-by-Step Process If you decide to remove PPF yourself, follow these steps: Wash your car thoroughly to remove all dirt and debris. Heat a small section of the film using your heat gun or hairdryer. Keep it moving to avoid overheating one spot. The ideal temperature is warm, not hot – about 80-90°F. Find an edge of the film and gently lift it using your fingernail or plastic scraper. The corner edges are usually good starting points. Pull slowly at a 45-degree angle, continuing to heat the film just ahead of where you're pulling. Too fast or too steep an angle increases the risk of adhesive transfer. If resistance increases or the film starts to stretch or tear, apply more heat. Remove adhesive residue with isopropyl alcohol or a dedicated adhesive remover. Apply with a microfiber towel and rub gently. Work in small sections – about 1-2 square feet at a time. For stubborn areas , spray warm soapy water underneath the film as you pull to help release the adhesive. Take breaks if needed. This is not a race, and rushing increases the risk of damage. After complete removal , wash the car again and inspect for any remaining adhesive. This process typically takes 3-6 hours for a DIY first-timer, depending on the size of the vehicle and the condition of the film. Common PPF Removal Challenges and Solutions Dealing with Aged or Low-Quality Film Older PPF (5+ years) or lower quality films often present these challenges: More brittle film that breaks during removal Stronger adhesive bond to the paint Increased likelihood of adhesive transfer Solutions: Use more heat, but be careful not to overheat Pull more slowly and at a shallower angle Use a steamer in addition to a heat gun for stubborn areas Consider professional removal if it's breaking into small pieces Adhesive Residue Issues Even after film removal, sticky adhesive might remain: Use dedicated adhesive removers like 3M Adhesive Remover Try a clay bar treatment for stubborn spots IPA (Isopropyl Alcohol) works for light residue Avoid household cleaners that might damage paint Preventing and Addressing Paint Damage To prevent damage during removal: Never use metal scrapers or razor blades Don't pull the film straight up (90° angle) Avoid excessive heat in one spot Don't rush the process If paint damage occurs: Stop immediately and consult a professional Minor scratches might be fixable with polishing Deep scratches may require professional paint correction After PPF Removal: What's Next? Inspecting Your Paint After removing PPF, carefully check your paint for: Uneven coloration or fading differences Scratches or chips that were under the film Water spots or etching Areas that might need paint correction A professional detailer can help assess any issues and recommend solutions. Paint Correction Options Your paint might need some attention after PPF removal: Light polishing to even out minor imperfections Paint correction for more significant issues Ceramic coating as a new protection option Re-application of new PPF At Veteran Detail , we offer complete paint assessment and correction services to restore your vehicle's appearance after PPF removal. Choosing New Protection After removing old PPF, consider these protection options: New, higher-quality PPF (brands like XPEL or SunTek) Ceramic coating for easier maintenance A combination of PPF on high-impact areas and ceramic coating elsewhere Specialized protection like our Black Ops package for black vehicles FAQ About PPF Removal Will removing PPF damage my paint? When removed properly, PPF should not damage your paint. However, improper removal techniques, using the wrong tools, or removing very old film increases the risk of damage. Professional removal is the safest option. How much does professional PPF removal cost? Professional PPF removal typically costs between $200-$500 depending on: How much film needs to be removed The age and condition of the film Your vehicle's size Your location Whether you're getting new protection applied afterward Can I remove just part of my PPF? Yes, partial removal is possible, but it can create visible lines where protected and unprotected paint meet. The newly exposed paint might also look different from the surrounding areas due to age and sun exposure differences. How do I know if my PPF needs replacing rather than just cleaning? Replace your PPF if you notice: Yellowing that doesn't improve with cleaning Persistent haziness or cloudiness Bubbles that won't go away Edges lifting or peeling Tears or holes in the film It's approaching or past the manufacturer's warranty period Can new PPF be applied immediately after removal? Yes, new PPF can be applied immediately after old film is removed, as long as: All adhesive residue has been completely cleaned The paint surface is properly prepped Any necessary paint correction has been completed The surface is thoroughly decontaminated Conclusion PPF can definitely be removed safely when the proper techniques and tools are used. Whether your film has reached the end of its life or you're preparing to upgrade to newer technology, knowing how to remove PPF correctly ensures your paint stays protected throughout the process. While DIY removal is possible, professional removal offers peace of mind and reduces the risk of expensive mistakes. Ready for Expert PPF Removal? Trust Veteran Detail! Don't risk your vehicle's perfect paint with amateur PPF removal! At Veteran Detail in Utah County, our certified technicians have safely removed and replaced PPF on hundreds of vehicles – from daily drivers to exotic supercars. We offer complete PPF solutions including: Safe, damage-free film removal Professional paint correction Premium new PPF installation Ceramic coating options Specialized Black Ops packages for black vehicles Our military-grade attention to detail means your vehicle gets the respect and care it deserves. Your vehicle protected our country's veterans – now let us protect your vehicle!
A red truck is parked in front of a veteran detail paint protection film and ceramic coating studio
February 3, 2025
Ceramic Coating Cost in Utah: What You Need to Know
A white cadillac is parked in a grassy field with mountains in the background.
January 3, 2025
The Benefits of Classic Car Detailing: Preserving Value and Timeless Appeal
A gray mustang is parked in front of a building that says veteran detail
December 9, 2024
Why Paint Protection Film is Essential for Cars in Utah
A black dodge challenger is parked in front of veteran detail
November 21, 2024
How Window Tinting Protects Your Car’s Interior and Boosts Comfort
paint protective film
October 25, 2024
Protect your car with Paint Protection Film. Prevent scratches, UV damage, and chemicals while keeping the original look. Discover the advantages of PPF today!
A white porsche taycan is parked in front of a car dealership.
September 26, 2024
How Long Does PPF Last | When Should You Replace Paint Protection Film
Car Window Tinting Cost
August 30, 2024
How Much Does Car Window Tinting Cost in Utah?
More Posts